Sealing your patio is an essential step in maintaining its appearance and longevity. When done correctly, patio sealing can protect your patio from weather damage, stains, and other types of wear and tear. In this article, we will provide you with a step-by-step guide on how to seal your patio, along with some tips and tricks to ensure that the process goes smoothly.
Home improvement can be a daunting task, but sealing your patio is a relatively easy process that can be done by anyone with a bit of patience and elbow grease. Whether you have a concrete patio or one made of pavers, sealing it can increase its lifespan and keep it looking good for years to come.
With the right patio sealer and a few simple tools, you can protect your patio from the elements and keep it looking like new. In the following sections, we will discuss the steps you need to take to seal your patio and provide you with some useful tips to make the process as smooth as possible.
Step 1: Clean the Surface
Before sealing your patio, it is crucial to ensure that the surface is clean and free of any debris or stains. This will allow the sealer to adhere properly and provide a smooth and even finish. Here are some steps to follow when cleaning your patio surface:
Removing Debris and Stains
The first step in cleaning your patio is to remove any debris or loose dirt. You can use a broom to sweep away any leaves, twigs, or other debris. For stubborn debris, you can use a vacuum cleaner or leaf blower to remove it.
Next, you should tackle any stains on the surface. Oil stains can be removed with dry ice or a degreaser. For other stains, a mixture of water and detergent can be used to scrub the surface. Be sure to rinse the surface thoroughly with water after scrubbing.
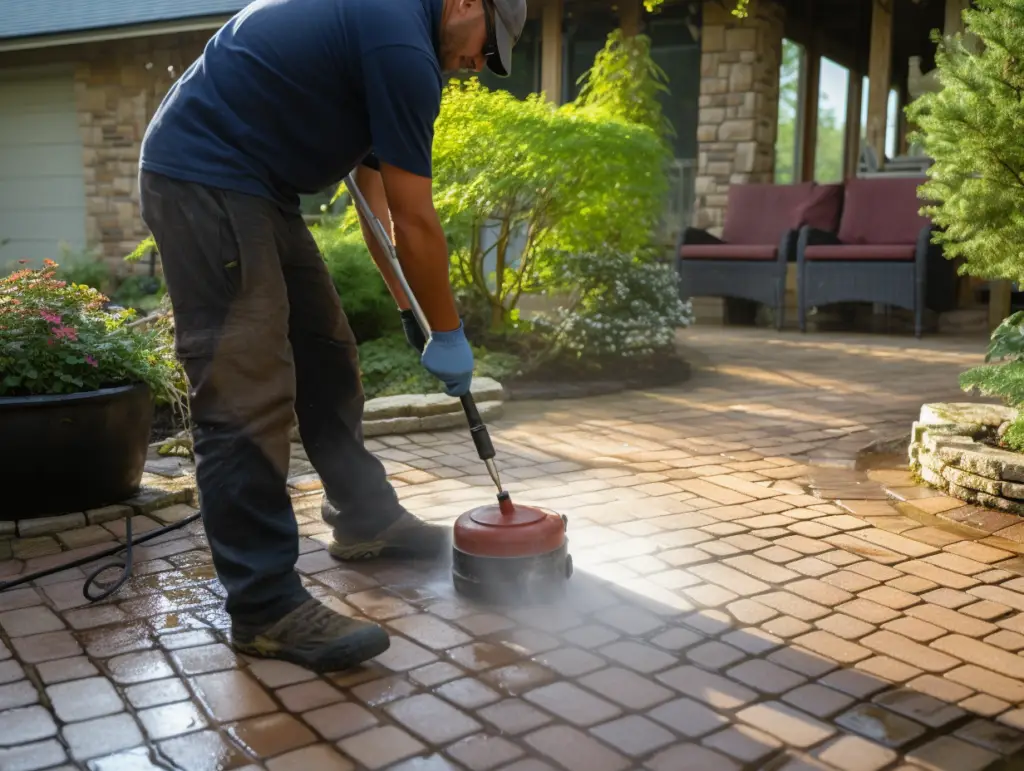
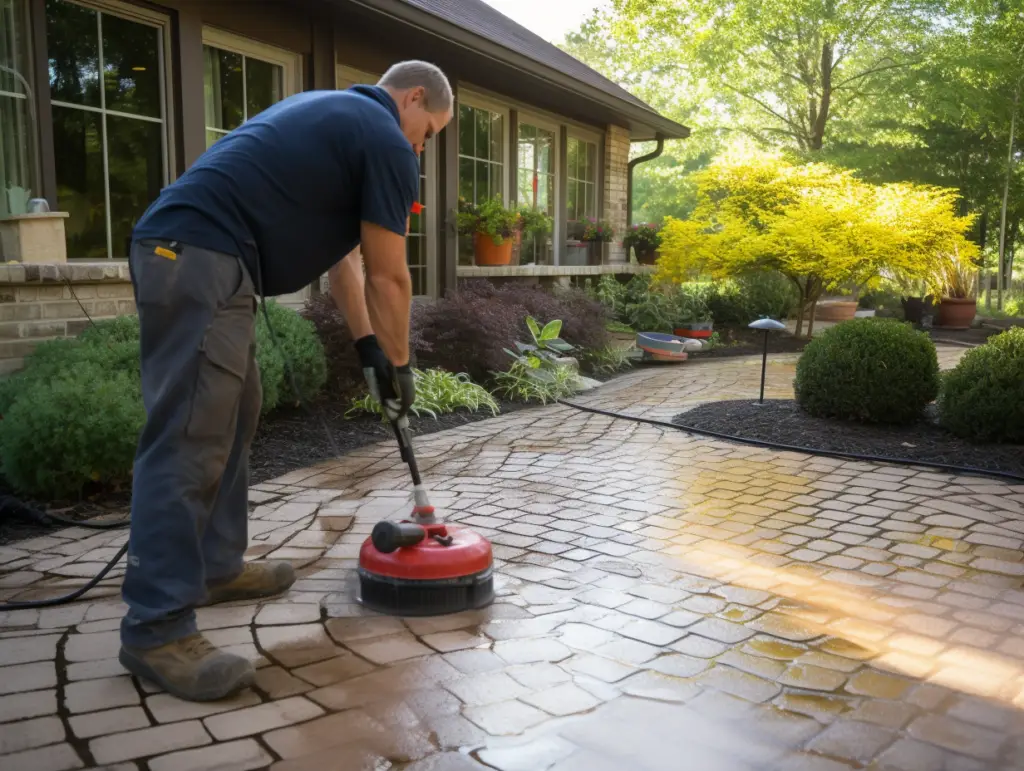
Power Washing the Surface
Once the surface is free of debris and stains, you can use a power washer to clean the surface thoroughly. A power washer uses high-pressure water to remove any contaminants from the surface, leaving it clean and ready for sealing.
When using a power washer, be sure to follow the manufacturer’s instructions carefully. Use a low-pressure setting to avoid damaging the surface, and keep the nozzle at least 6 inches away from the surface. Be sure to wear protective gear such as goggles and gloves when using a power washer.
In summary, cleaning your patio surface is an essential step in preparing it for sealing. By removing debris and stains and power washing the surface, you can ensure that the sealer will adhere properly and provide a smooth and even finish.
Step 2: Repair Cracks and Holes
Before sealing your patio, it’s important to repair any cracks or holes to ensure the sealant properly adheres and protects the surface. Here are the steps to follow:
Filling Cracks
- Clean the crack: Use a wire brush or scraper to remove any dirt, debris, or loose concrete from the crack. You can also use a pressure washer to clean the area.
- Fill the crack: Use a concrete patching compound to fill the crack. You can find these products at your local hardware store. Follow the manufacturer’s instructions for mixing and applying the compound. Use a trowel to smooth out the surface and ensure it’s level with the rest of the patio.
- Let it dry: Allow the patching compound to dry completely before moving on to the next step. This usually takes several hours or overnight.
Filling Holes
- Clean the hole: Use a wire brush or scraper to remove any dirt, debris, or loose concrete from the hole. You can also use a pressure washer to clean the area.
- Fill the hole: Use a concrete patching compound to fill the hole. Follow the manufacturer’s instructions for mixing and applying the compound. Use a trowel to smooth out the surface and ensure it’s level with the rest of the patio.
- Let it dry: Allow the patching compound to dry completely before moving on to the next step. This usually takes several hours or overnight.
Tools and Materials Needed
- Wire brush or scraper
- Pressure washer (optional)
- Concrete patching compound
- Trowel
Sanding
After the patching compound has dried, you may need to sand the surface to ensure it’s level with the rest of the patio. Use a sanding block or sandpaper to smooth out any rough spots.

Final Thoughts
Repairing cracks and holes in your patio is an important step in the sealing process. It ensures the sealant properly adheres and protects the surface. With the right tools and materials, you can easily repair any damage and prepare your patio for sealing.
Step 3: Apply the Sealer
Once you have cleaned and prepared your patio surface, it’s time to apply the sealer. This step is crucial to protect your patio from weathering, staining, and fading. Here are some tips on how to properly apply the sealer to your patio.
Choosing the Right Sealer
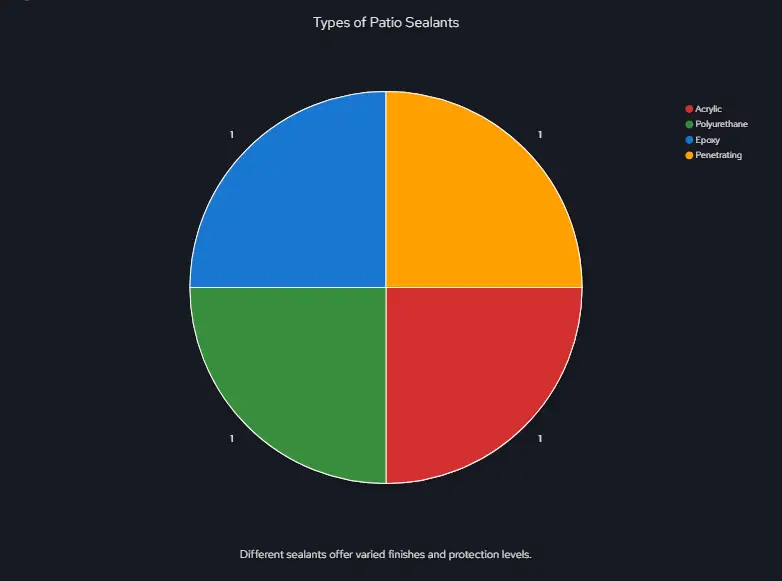
Before you start applying the sealer, it’s important to choose the right type of sealer for your patio. There are two main types of sealers: penetrating sealers and surface sealers. Penetrating sealers soak into the pores of the concrete, creating a barrier against moisture and stains. Surface sealers, on the other hand, sit on top of the concrete and create a protective layer.
When choosing a sealer, consider factors such as the type of concrete, the level of gloss or matte finish you want, and the level of protection you need. You can choose from a range of sealers, including acrylic, silicone, and epoxy sealers.
Applying the Sealer
To apply the sealer, you can use a brush, roller, or sprayer. A sprayer is recommended as it offers a more even coat than a roller. Here are the steps to follow:
- Start at a corner of the patio and work your way towards the opposite corner. This will ensure that you don’t miss any spots.
- Apply the sealer in a circular motion, using a nap roller or spray applicator.
- Apply a thin, even coat of sealer. Avoid over-applying as this can lead to a sticky or uneven surface.
- Allow the sealer to cure for the recommended time, usually 24 hours.
- Apply a second coat of sealer if necessary, following the same steps as above.
It’s important to follow the manufacturer’s instructions when applying the sealer. Some sealers may require a specific type of applicator or a certain number of coats.
In conclusion, applying the sealer is an important step in protecting your patio surface. By choosing the right sealer and following the proper application technique, you can ensure that your patio remains protected and looking its best for years to come.
Step 4: Allow the Sealer to Cure
After applying the sealer to your patio, it is important to allow it to cure properly. Curing time and weather considerations are two important factors to keep in mind during this process.
Curing Time
The curing time for your sealer will depend on the type of sealer you used and the weather conditions in your area. Most sealers will require at least 24 hours to cure properly. However, some sealers may require up to 48 hours or more.
It is important to avoid walking on your patio or exposing it to any moisture during the curing process. This can cause the sealer to not cure properly and may result in a less effective seal.
Weather Considerations
Weather conditions can have a significant impact on the curing process of your sealer. If it is too humid or rainy, the sealer may not cure properly. It is best to apply sealer on a clear, dry day with low humidity.
If you are unsure about the weather conditions in your area, you can use a fan to help circulate air and speed up the curing process. Additionally, it is important to avoid applying sealer in extreme temperatures, as this can also affect the curing process.
Additional Considerations
When allowing your sealer to cure, it is important to keep the following in mind:
- Avoid exposing your patio to any moisture during the curing process.
- Wear gloves when handling sealer to avoid skin irritation.
- If using a pressure washer to clean your patio before applying sealer, allow it to dry completely before applying sealer.
- Make sure to use a top sealer formulated for your specific type of patio.
- If sealing a large area, it may be helpful to break it up into smaller sections to ensure proper curing.
By following these guidelines, you can ensure that your patio is properly sealed and protected for years to come.
Step 5: Regular Maintenance
Regular maintenance is key to ensuring that your patio stays looking beautiful and protected for years to come. This section will cover two crucial aspects of patio maintenance: resealing your patio and cleaning your sealed patio.
Resealing Your Patio
After 18-24 months, your patio will be ready for a fresh top-up of sealer. It’s important to use the same product to get the same results, but the process is much the same. If you have opted for Black Limestone, the time limit is a little different – make sure you have a read up on the material here.
To reseal your patio, follow these simple steps:
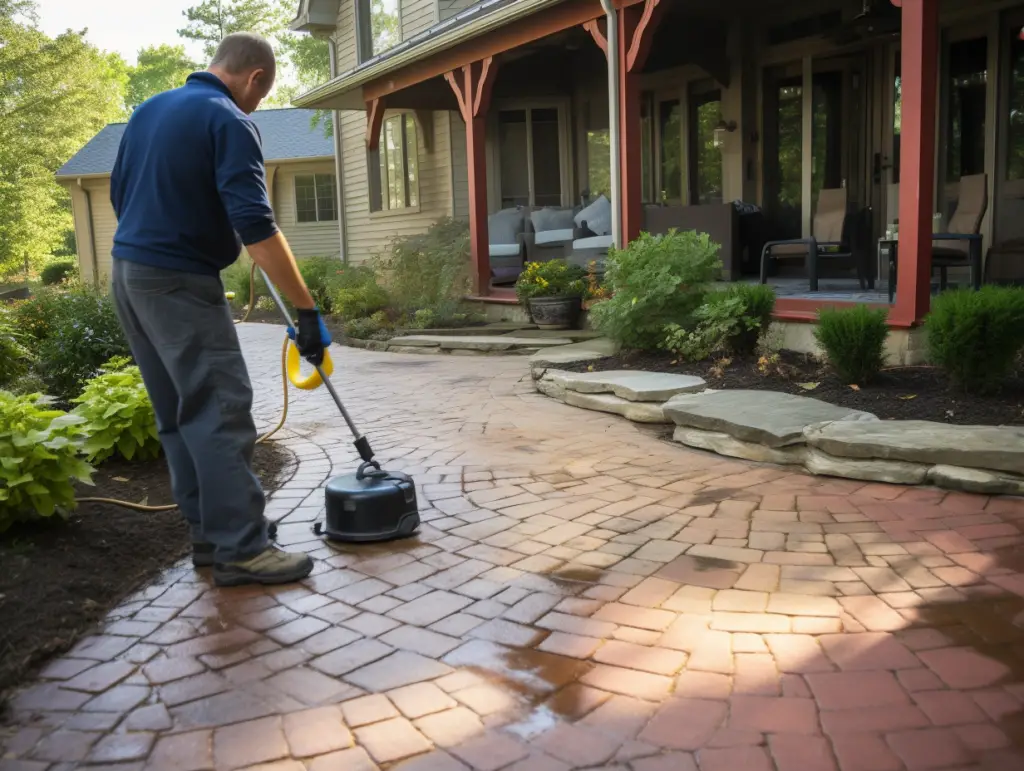
- Clean your patio thoroughly using a garden hose and a mild detergent. Rinse off any soap residue and allow the patio to dry completely.
- Apply the sealer in moderate temperatures, when there is no precipitation in the forecast. Avoid applying the sealer in direct sunlight, as this can cause the sealer to dry too quickly and not cure properly.
- Follow the manufacturer’s instructions for best curing results. This typically involves waiting 24-48 hours before walking on the patio or placing any furniture on it.
- Regularly check your patio for wear and tear, moss, algae, or any other signs of damage. Address any issues promptly to prevent them from getting worse.
Cleaning Your Sealed Patio
To keep your sealed patio looking its best, it’s important to clean it regularly. Here are some tips for cleaning your sealed patio:
- Sweep your patio regularly to remove any debris or dirt that may have accumulated.
- Use a garden hose or pressure washer to rinse off any stubborn dirt or stains. Avoid using harsh chemicals that can damage the sealer.
- If you notice the growth of moss and algae, use a solution of water and vinegar to remove it. Scrub the affected area with a stiff brush and rinse thoroughly with water.
- Address any areas of wear and tear promptly to prevent them from getting worse. This may involve resealing the affected area or repairing any cracks or chips.
By following these simple steps, you can ensure that your patio stays looking beautiful and protected for years to come.
![What Gravel To Use For Patio Base [Best Options]](https://www.cleverpatio.com/wp-content/uploads/2021/11/What-Gravel-To-Use-For-Patio-Base-270x180.jpg)
Leave a Reply