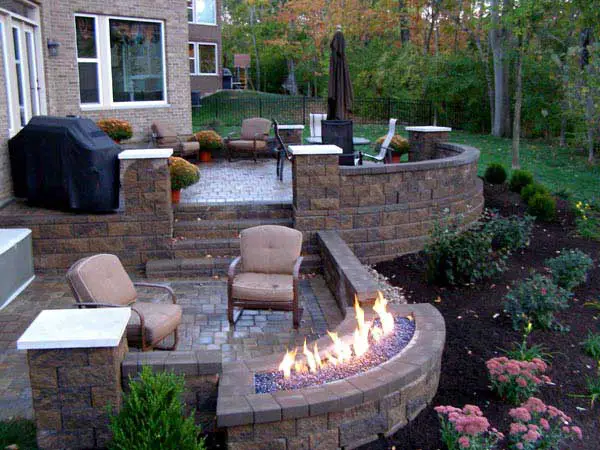
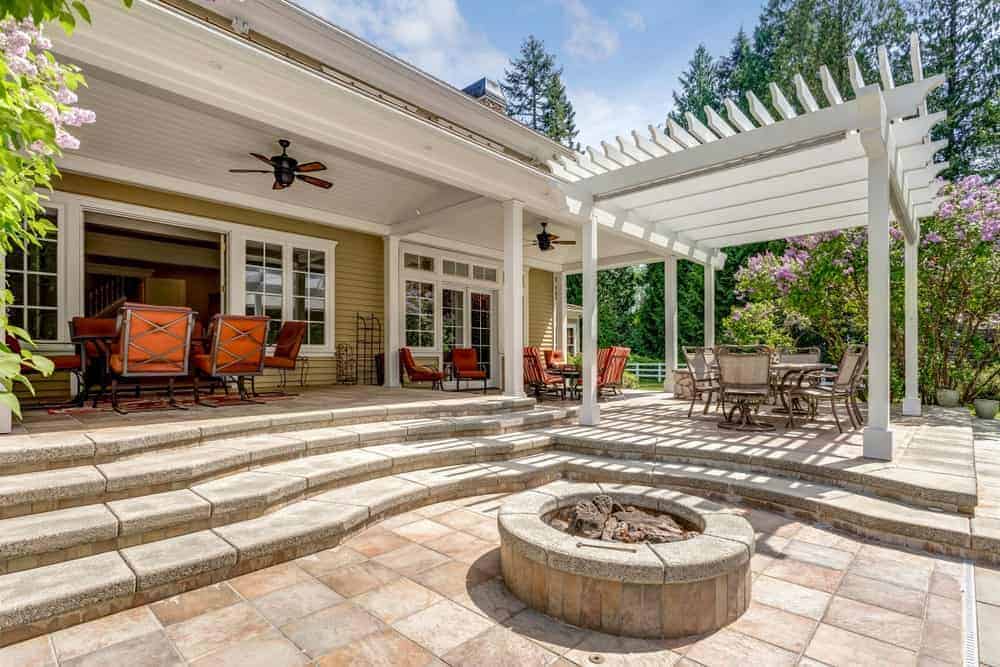
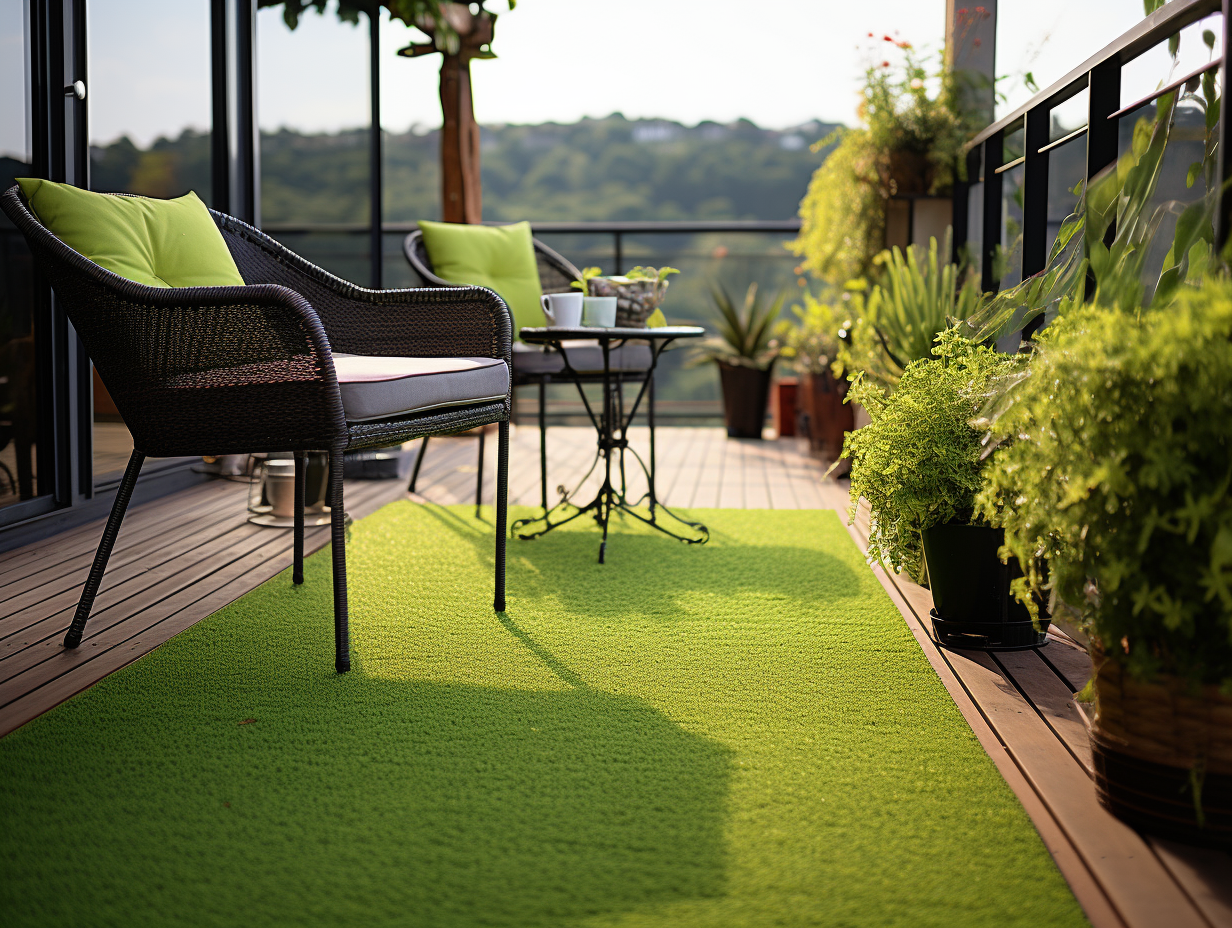
Building a paver patio on sloping ground is not as daunting of an undertaking as many people think.
The trickiest part of the project will be getting access to your yard to begin construction, but if you can get that far there’s no need to worry about what lies ahead.
I can’t begin to tell you how many times I have been told by friends and family that they want a patio, but their yard is not flat.
Sloping yards are an obstacle for most homeowners who considering adding a paver patio or any type of outdoor living space because the slope often creates drainage problems.
There will be water accumulation on one side of the area versus the other if it slopes downhill.
The good news is there are solutions!
Today we’re going to cover three ways you could build your dream patio even if your lot has some uneven terrain and all those pesky drainage issues too:
sloped ground (lots), retaining walls, and terraced patios with steps/stairs. Each solution will have its own pros and cons, but you can find one that suits your needs.
Here are some tips for how to build this type of patio in your backyard:
5 Methods To Build A Patio On A Sloped Yard
1. Sloped ground (lots)
This is where the land slopes down from left to right. If you want a patio in your backyard, you will either need to carve out an area that’s level enough for concrete or pour a slab on top of the slope and then build up with bricks around it.
A lot of people don’t like this because it requires complete removal of existing vegetation before building begins.
The solution might include retaining walls–we’ll talk about those later–or terraced patios with steps/stairs which require less excavation but more construction time and materials.
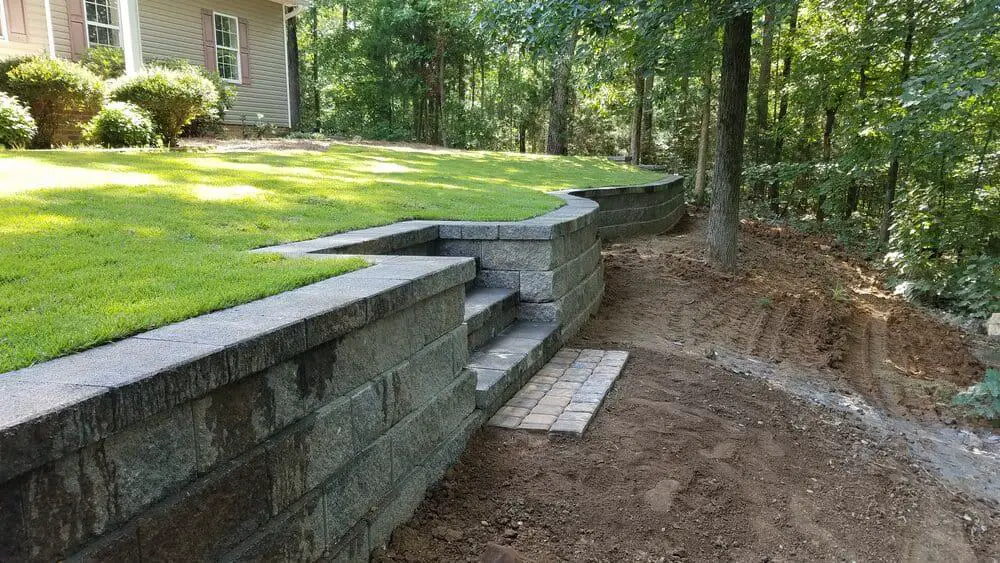
2. Retaining Walls
If your yard has some areas that are gentle sloping downhill towards other steeper sections below them, installing a retaining wall along the downhill section will help with drainage.
This is a good solution if your yard slopes down on both sides and water run off the higher side while pooling up near the lower end of the slope.
3. Terraced Patios
This can be accomplished by building earth to create steps that lead downward or stairs for a more gradual change in level.
The top platform of each step needs to be big enough for you to walk around comfortably so it’s important not only how high but also how wide they are going to be.
Materials used should include something like brick pavers (or stone), concrete, bricks, flagstone–whatever type you prefer!
Terrace patio solutions work well because there is minimal excavation required and construction time does not take too long.
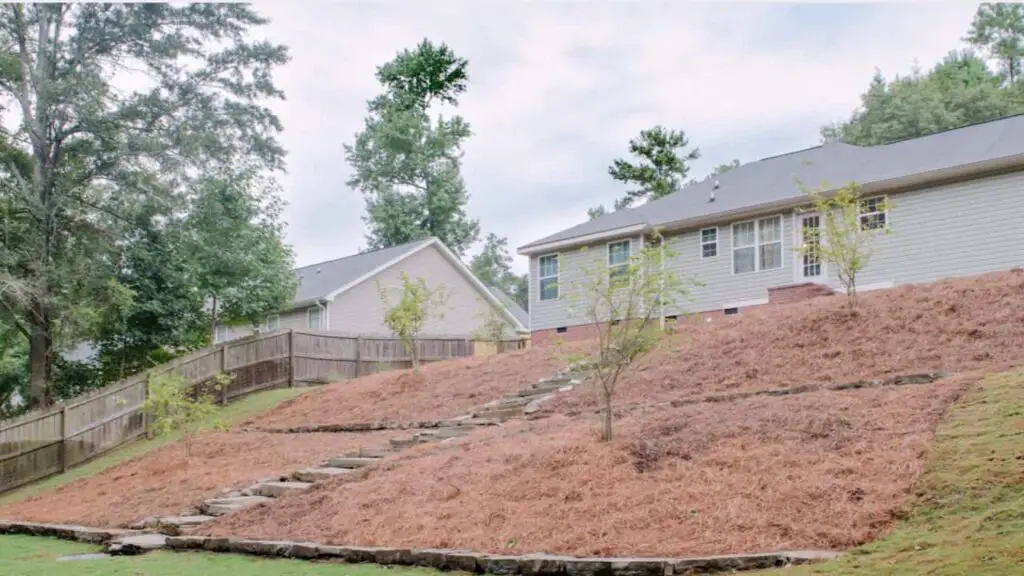
4. Steps/stairs
This is an excellent solution for a sloping yard because it provides the most gradual descent of all three solutions, which also makes it easier to walk around on.
If you are using steps or stairs in lieu of earth and retaining walls for your slope, they need to be wider than the step below them so that there’s enough room for something
like pavers or concrete to sit between the risers (or ledges) before installing another one higher up–
I’ll show examples later! Keep in mind that if your drainage problem was from water pooling at the bottom end of a slope, adding steps will only reroute flow away from that area towards other parts where moisture may accumulate too.
So make sure the slope is gentle enough and has a grade low enough to avoid that problem.
5. Risers (or ledges)
Stepped areas can be completed with risers or ledges which are basically horizontal surfaces installed between each step toward one side of it, often at an angle.
They provide support for materials on top like concrete pavers, stone slabs, bricks–whatever you’re using!
Installing them will help distribute weight evenly so there’s less chance of erosion from rain/snow runoff over time too.
You’ll need access to all sides in order to install these because they go up against the surface material used as well as where water drainage occurs when walking down steps.
If your home does not have such access then some other type of wall may be necessary.
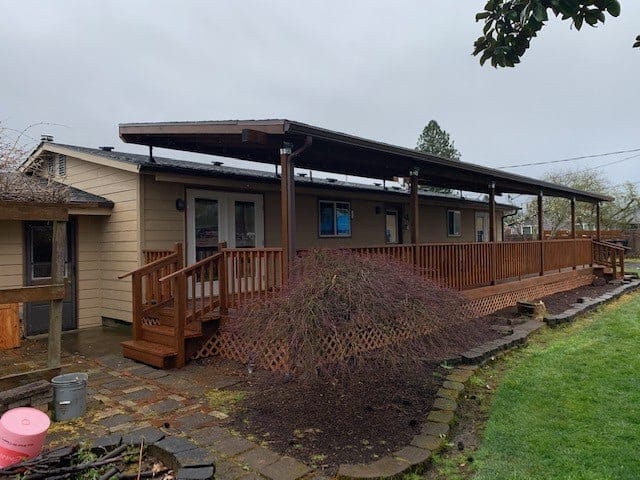
Steps: For Building a Paver Patio On A Sloped Yard
Layout Patio Size
Mark the area where your patio will be by using a garden hose and string.
Stretch the hose from one end of your yard to another, then lay string along its length at about 18 inches apart; this is an approximation for how far paver blocks are spaced when placed together.
If you have trees or large rocks in that space, mark their location with stakes so they don’t get covered up or damaged during building.
If there’s any doubt as to what size patio you need, measure out the measurement of your desired paving stones (usually twelve inches wide) on graph paper first and cut it
into squares, matching them to make sure they fit well before marking out your final measurements.
You can also use a pre-drawn design from a patio company for this.
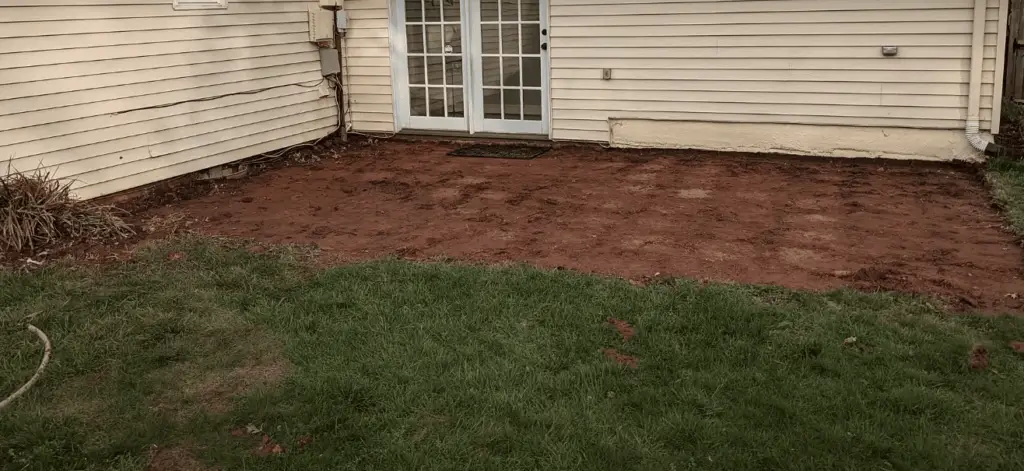
Excavate
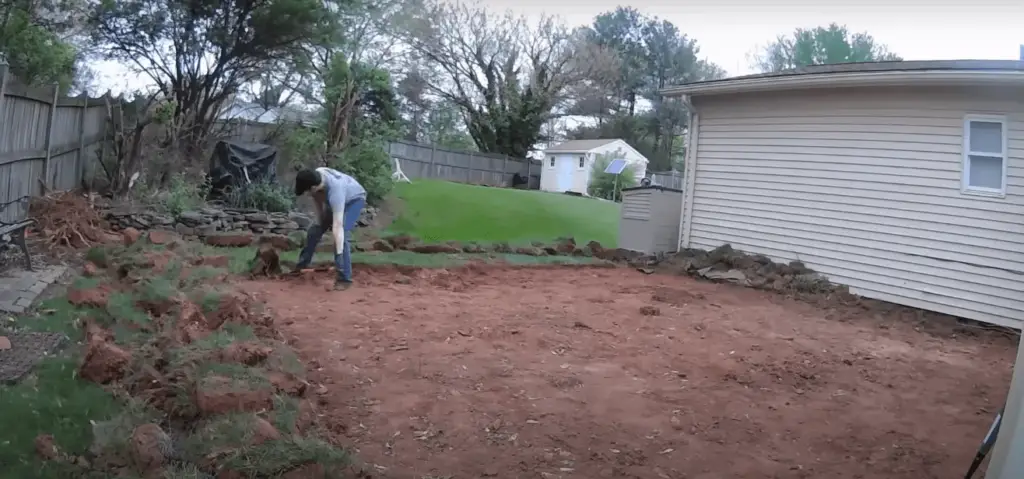
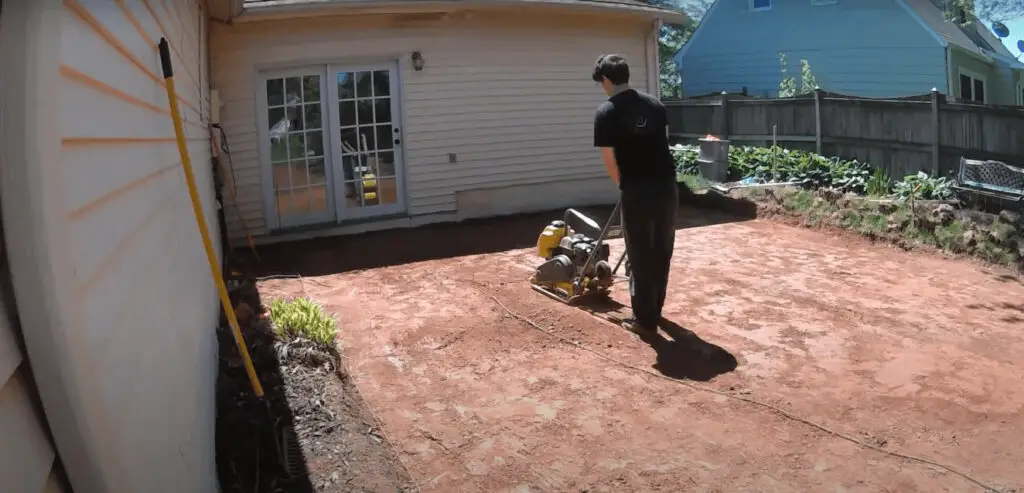
Excavate the ground where your patio will go, using whatever excavation tools you have available to dig out all of the material that’s in there.
Make sure it’s deep enough so you can stack two paver blocks on top of each other with space between them; these are called “risers.”
Use a sledgehammer and stake if necessary to make large rocks fit into place as they were before digging started.
Use an excavator or some other heavy machinery to remove stubborn obstacles, like boulders or trees, which may be preventing rainwater from running off properly and pooling up around your home later on during storms.
Lay a Base
Lay a layer of gravel for drainage in the area where your patio will go.
Make sure it’s about two inches thick, or whatever thickness is specified by whichever company you purchase this material from; make sure they can give you accurate advice
on how deep to dig before applying and which type of soil to use as well!
After that, cover up with dirt again (this time using healthy topsoil) and rake out until level.
Lay Pavers
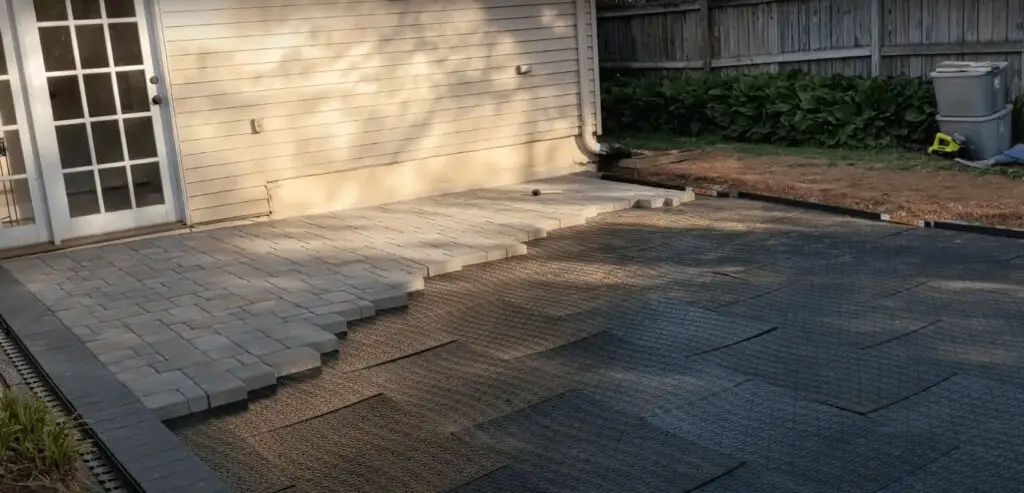
Lay the pavers one at a time, making sure they’re level and that there’s space between each of them to allow for water drainage; make sure you have enough blocks on hand before beginning this process so you don’t run out in the middle!
Keep adding more layers until your desired height is reached. Be careful not to step or jump on any paver blocks as it will cause damage.
Fill every hole with dirt then rake again until evened out. Remove all stakes marking trees and other obstacles ahead of time to avoid damaging roots later when building over
top of them (read up about how deep these should be buried depending on where they are).
After finishing steps one through four, we recommend waiting two to six weeks before staining your paver patio.
The steps to building a paver patio on a sloped yard are the following:
- Mark out where you will build with string and hose
- Excavate ground for pavers using appropriate tools (sledgehammer)
- Lay gravel layer as drainage
- Dig holes at equal distances from each other and in correct sizes
- Put pavers one by one until desired height is reached then fill every hole up with dirt and rake again.
- Wait two-six weeks after finishing before applying sealant or paint of choice.
Can you build a patio on a slope?
Yes, you can – and the best part is that it’s not too expensive to build a patio on a slope.
All you need are some basic tools such as shovels, wheelbarrows, levelers, or pry bars. A popular material for patios is concrete pavers which are easy to install but will require heavy machinery if your slope is steep.
If this sounds like something you want to do yourself then here are some tips:
- Determine whether your garden has enough space for new paving stones; otherwise just add them in an existing area of the garden where there isn’t any landscaping yet
- Make sure the soil slopes away from buildings and driveways so water won’t pool underneath (this can cause severe damage to the structure)
- Choose a slope that has been prepped for paving stones and mark out your patio area, using stakes or hose pipes.
- This will ensure you have enough room for all of the necessary steps in this process; also keep in mind that these measurements need to be taken from the ground up so if there is an existing walkway then subtract it from your measurement.
- Your new patio should extend at least one foot on every side beyond where you want paved stones laid down (to accommodate joints).
What should the slope be on a patio?
A sloping patio should slope 1/8″ (3mm) per running foot. Generally, a 4″ (100mm) thick slab set 2″ above ground level is sufficient.
Slopes greater than 45 degrees will require some form of retaining wall to prevent the slope from becoming too steep.
Retaining walls are typically made out of concrete or stone; however, any material can be used as long as it meets code requirements and limitations.
How do you calculate the slope of a paver patio?
You can calculate the slope of a paver patio by drawing two perpendicular lines. One line should be drawn across the top and bottom edge, while the other is along each side.
You then have to measure up from either end until you get an equal measurement. The difference in those measurements will give you an idea of how steep it is going to be when installing pavers for your patio.
For example, if one end was three inches higher than the other that would mean that there would be a three-inch drop every few feet on either side of where they intersected at ground level – not good!
In contrast, if both ends were even with one another this could indicate a flat surface which may work well for children or people with mobility issues who may have difficulty going up and down hills.
![What Gravel To Use For Patio Base [Best Options]](https://www.cleverpatio.com/wp-content/uploads/2021/11/What-Gravel-To-Use-For-Patio-Base-270x180.jpg)
Leave a Reply