Building a shed ramp is an essential part of constructing a shed. It makes it easier to move heavy equipment or machinery in and out of the shed. A shed ramp also provides safe access to the shed, preventing accidents and injuries.
Building a shed ramp might seem like a daunting task, but it is a simple process that can be completed in a few easy steps.
How to Build Shed Ramp
1. Planning and Preparation
Before beginning any woodworking project, it is important to plan and prepare accordingly. Building a shed ramp is no exception. In this section, we will cover the necessary steps to plan and prepare for building a shed ramp.
Choosing the Ramp Design
The first step in planning for a shed ramp is to choose the ramp design that will best suit your needs. There are a variety of shed ramp plans available online, ranging from simple to complex designs. When choosing a design, consider factors such as the size of your shed, the amount of weight the ramp will need to support, and the slope of the ground where the ramp will be installed.

Gathering Materials and Tools
Once you have chosen a ramp design, the next step is to gather the necessary materials and tools. Materials needed for building a shed ramp typically include pressure-treated lumber, galvanized screws, wood filler, and sandpaper. Tools needed may include a circular saw, jigsaw, drill machinery, carpentry pencil, tape measure, spirit level, safety gloves, and a hammer.
When gathering materials, it is important to consider your budget and the quality of the materials. Premium plans may require more expensive materials, but they may also result in a sturdier and longer-lasting ramp. Additionally, it is important to wear safety gloves and use caution when handling power tools.
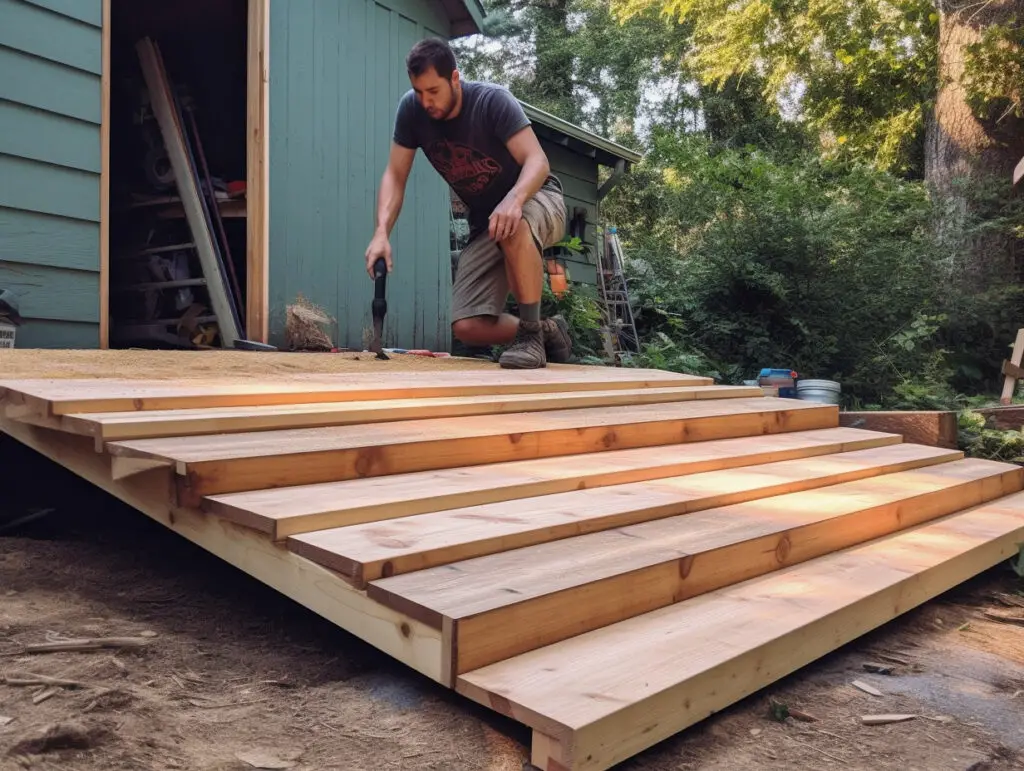
Building the Ramp Framework
After gathering materials and tools, the next step is to build the ramp framework. This typically involves cutting the lumber to the correct length and angle, and using joist hangers to attach the ramp to the shed. It is important to take accurate measurements and use a chalk line to ensure that the ramp is level.
Once the framework is in place, the next step is to install the ramp decking. This typically involves cutting the decking boards to the correct length and attaching them to the framework using wood screws. It is important to use pressure-treated lumber for the decking to prevent rot and decay.
Planning and preparation are crucial steps in building a shed ramp. Choosing the right ramp design and gathering the necessary materials and tools will ensure that the project is completed safely and efficiently. By following these steps and taking the necessary precautions, building a shed ramp can be a rewarding and successful woodworking project.
2. Building the Ramp Frame
When building a shed ramp, the most important part is constructing a sturdy frame that can handle the weight of whatever you will be rolling up and down the ramp. Here are the steps to building the ramp frame:
Measuring and Cutting the Joists and Stringers
The first step is to measure and cut the joists and stringers to the correct length. The joists are the horizontal pieces that will support the ramp surface, while the stringers are the vertical pieces that will attach the ramp to the shed.
To determine the length of the joists and stringers, you will need to measure the height of the shed floor and the distance from the shed to the ground. You will also need to take into account any slope or incline that the ramp will need to cover.
Once you have your measurements, you can use a saw to cut the joists and stringers to the correct length. Make sure to use pressure-treated lumber that is strong enough to support the weight of whatever you will be rolling up and down the ramp.
Attaching the Frame to the Shed
The next step is to attach the frame to the shed. To do this, you will need to use a ledger board to attach the ramp frame to the shed. The ledger board should be attached to the shed using bolts or screws that are long enough to penetrate the shed wall and provide stability.
Once the ledger board is attached, you can then attach the stringers to the ledger board using nails or screws. Make sure to use a level to ensure that the stringers are straight and level.
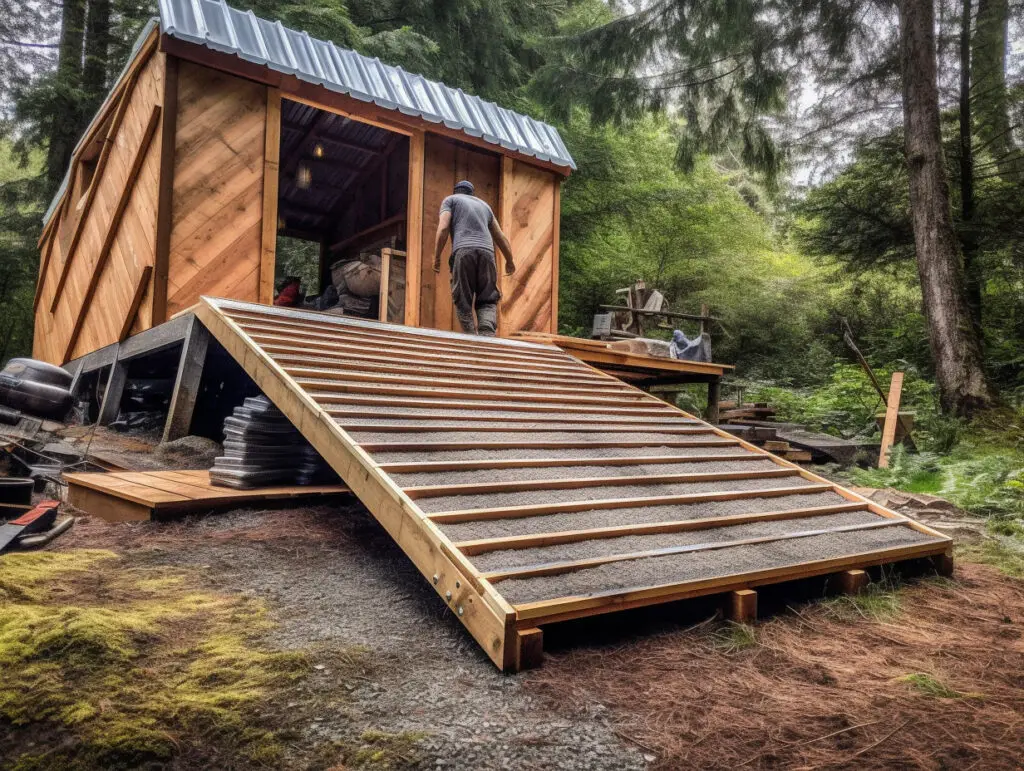
Adding the Ramp Joists
The final step is to add the ramp joists. These are the horizontal pieces that will support the ramp surface. To attach the ramp joists, you will need to notch the stringers to create a slot for the joists to fit into.
Once the notches are cut, you can then slide the ramp joists into place and attach them to the stringers using nails or screws. Make sure to use pressure-treated plywood for the ramp surface to ensure that it can handle the weight of whatever you will be rolling up and down the ramp.
Overall, constructing a sturdy ramp frame is essential for ensuring that your shed ramp is safe and stable. By following these steps and taking the time to measure and cut everything correctly, you can create a ramp that provides easy access to your shed for years to come.
3. Finishing Touches
Once you have built your shed ramp, there are a few finishing touches you can add to make it more functional and safe.
Adding Non-Slip Surface
Adding a non-slip surface to your shed ramp is essential to prevent slips and falls. You can use a variety of materials to create a non-slip surface, including:
- Anti-slip tape
- Rubber mats
- Non-slip paint
Anti-slip tape is an inexpensive and easy-to-install option. Simply apply the tape to the surface of the ramp, and you are good to go. Rubber mats and non-slip paint also work well, but they require more preparation and installation time.
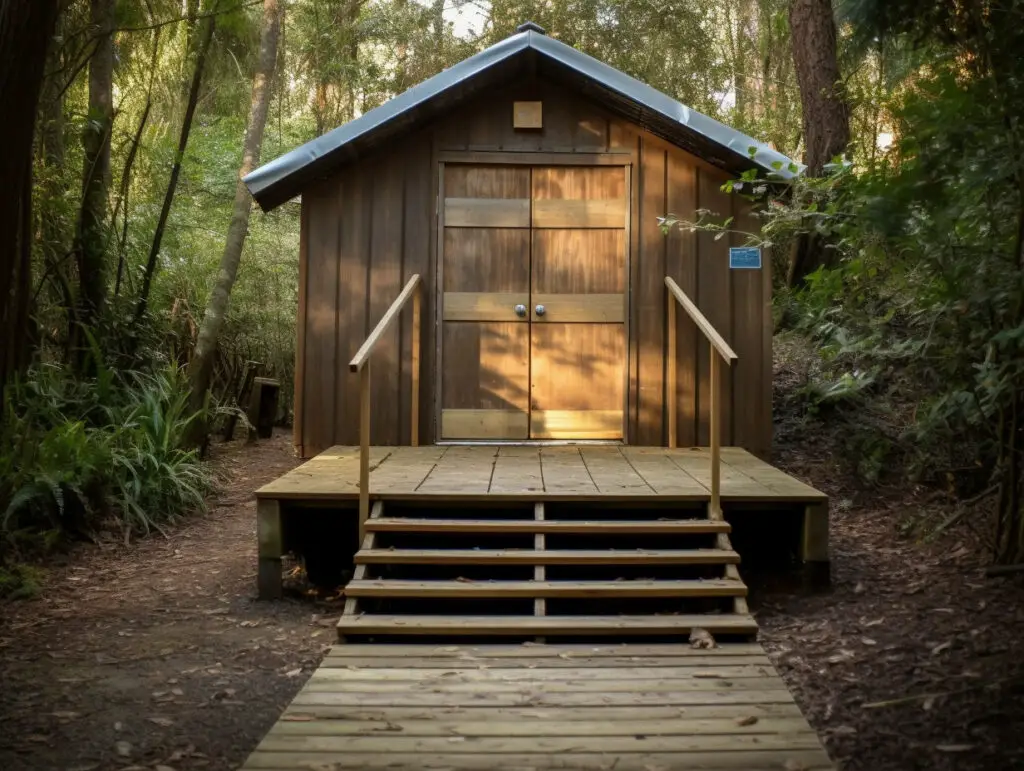
Installing Handrails
If your shed ramp is more than a few feet off the ground, you may want to consider installing handrails. Handrails provide additional support and stability, making it easier and safer to navigate the ramp.
When installing handrails, make sure they are securely attached to the ramp and the shed. Use sturdy materials, such as wood or metal, and follow the manufacturer’s instructions for installation.
Other Considerations
In addition to adding a non-slip surface and handrails, there are a few other considerations you should keep in mind when finishing your shed ramp:
- Roll-up door: If your shed has a roll-up door, make sure the ramp is positioned so that the door can still open and close properly.
- Shed floor: Make sure the ramp is flush with the shed floor to prevent tripping hazards.
- Accessibility: If you or someone in your household uses a wheelchair or mobility device, make sure the ramp meets accessibility guidelines.
- DIY projects: If you are building a shed ramp as a DIY project, make sure you have the necessary skills and tools to complete the project safely and effectively.
By taking these finishing touches into consideration, you can ensure that your shed ramp is safe, functional, and easy to use.
Conclusion
By following these steps, you can build a sturdy and safe shed ramp that will last for years. Whether you are a DIY enthusiast or a professional builder, building a shed ramp is a simple process that can be completed in a few easy steps. With the right tools and materials, you can create a ramp that will provide safe and easy access to your shed.
![What Gravel To Use For Patio Base [Best Options]](https://www.cleverpatio.com/wp-content/uploads/2021/11/What-Gravel-To-Use-For-Patio-Base-270x180.jpg)


Leave a Reply